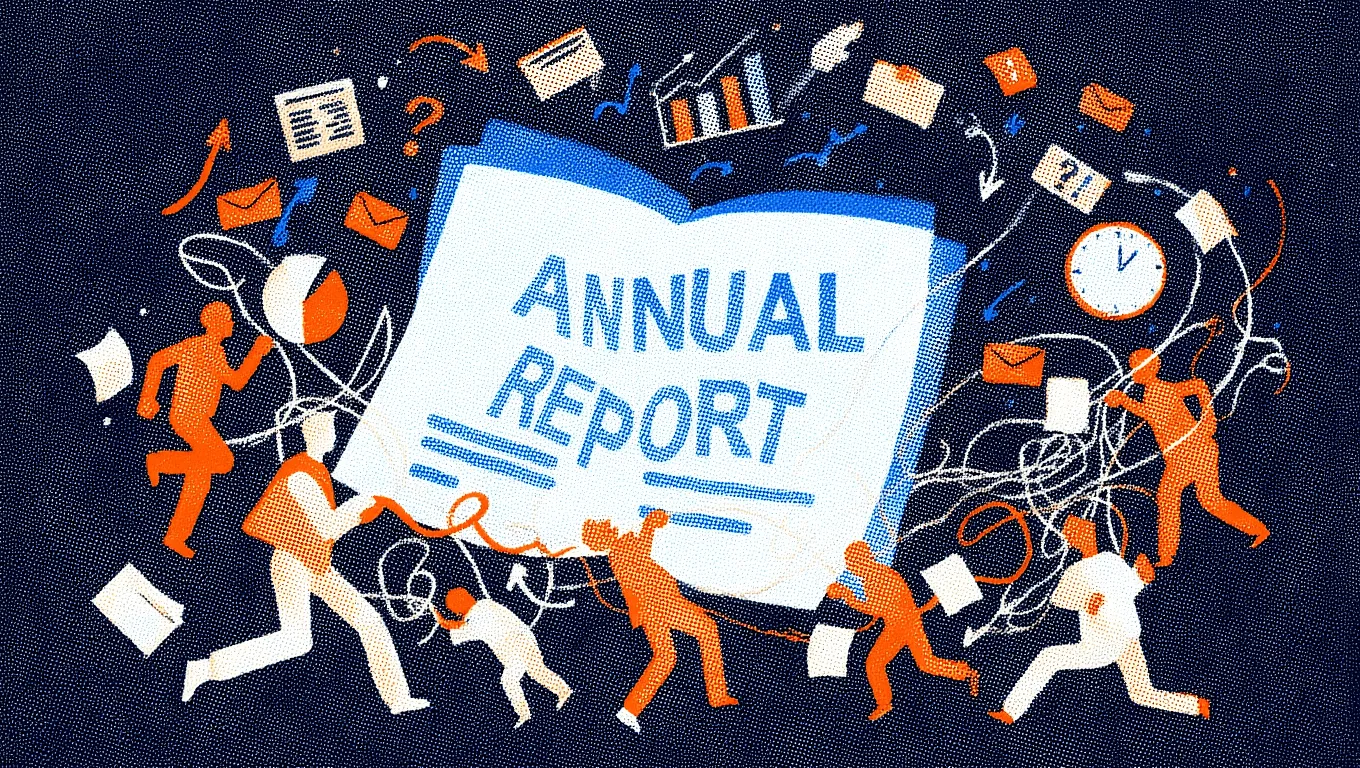
We’re fast. Really fast
We know time is of the essence, so we pride ourselves on quick, efficient delivery without sacrificing quality. Whether you have a tight deadline or need a last-minute update, our team is committed to delivering polished results within even the tightest timeframe.
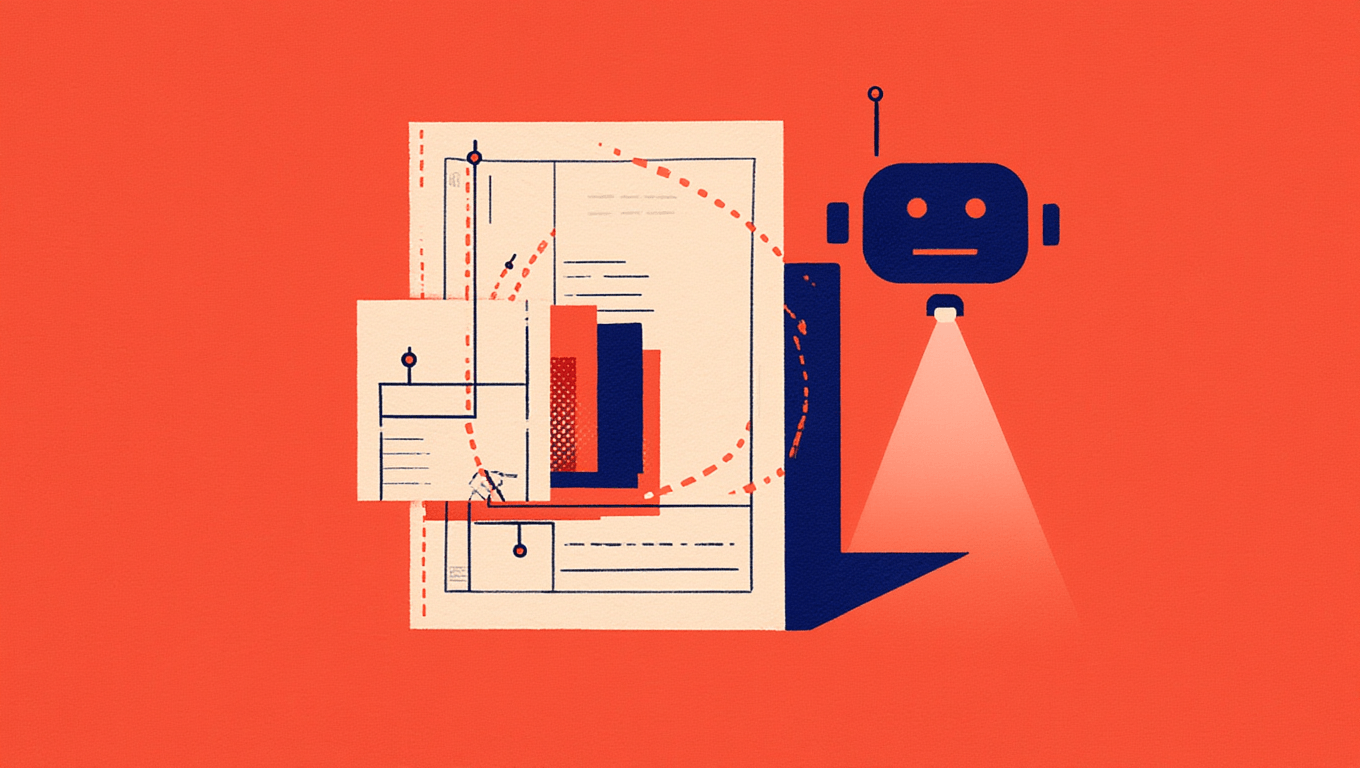
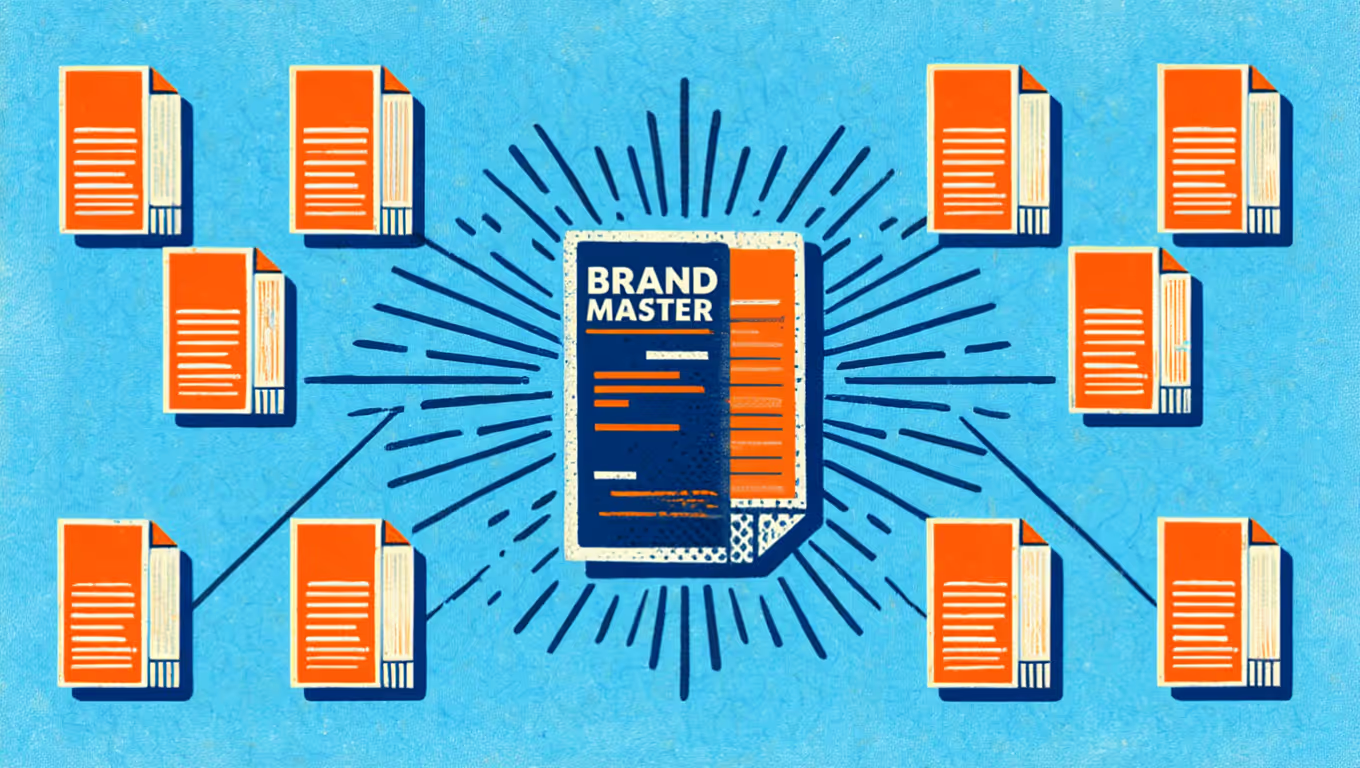
We get AI
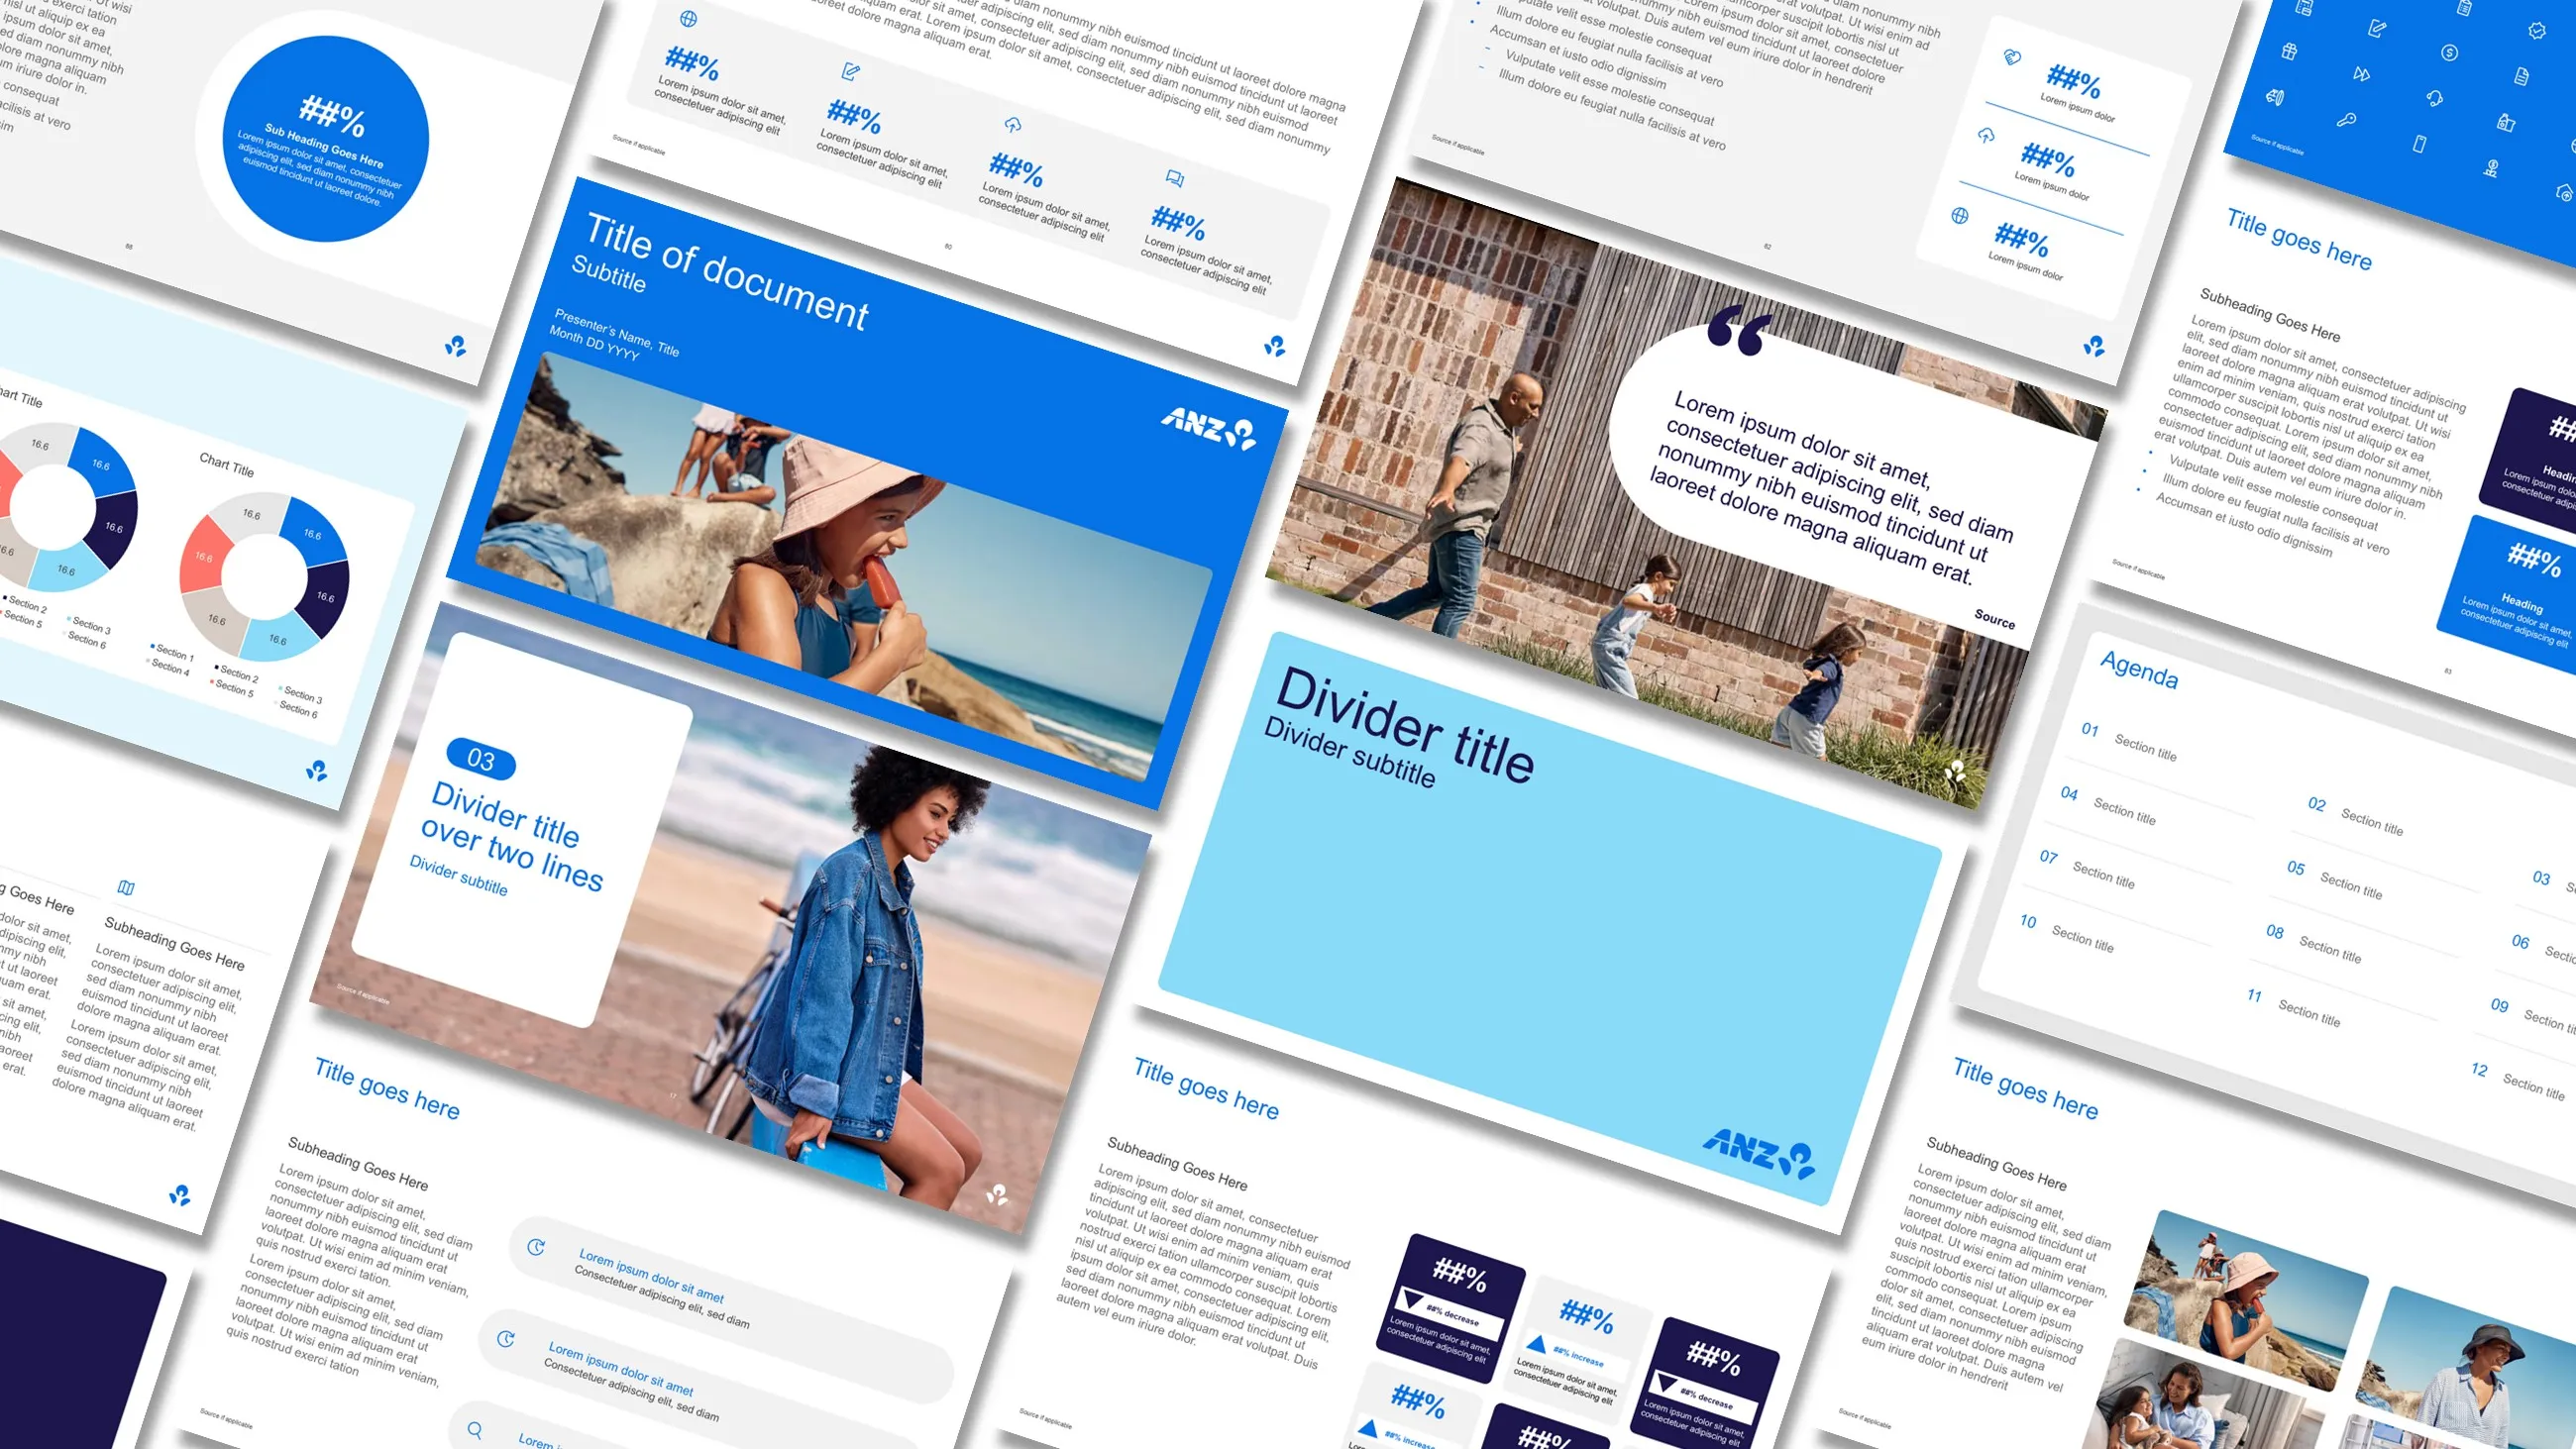
AI is changing how teams work. We build templates that give AI the best possible foundation - clean layouts, properly styled headings, and logical formatting that AI can actually read and use. Not all templates are equal when AI enters the room. Ours are built ready.
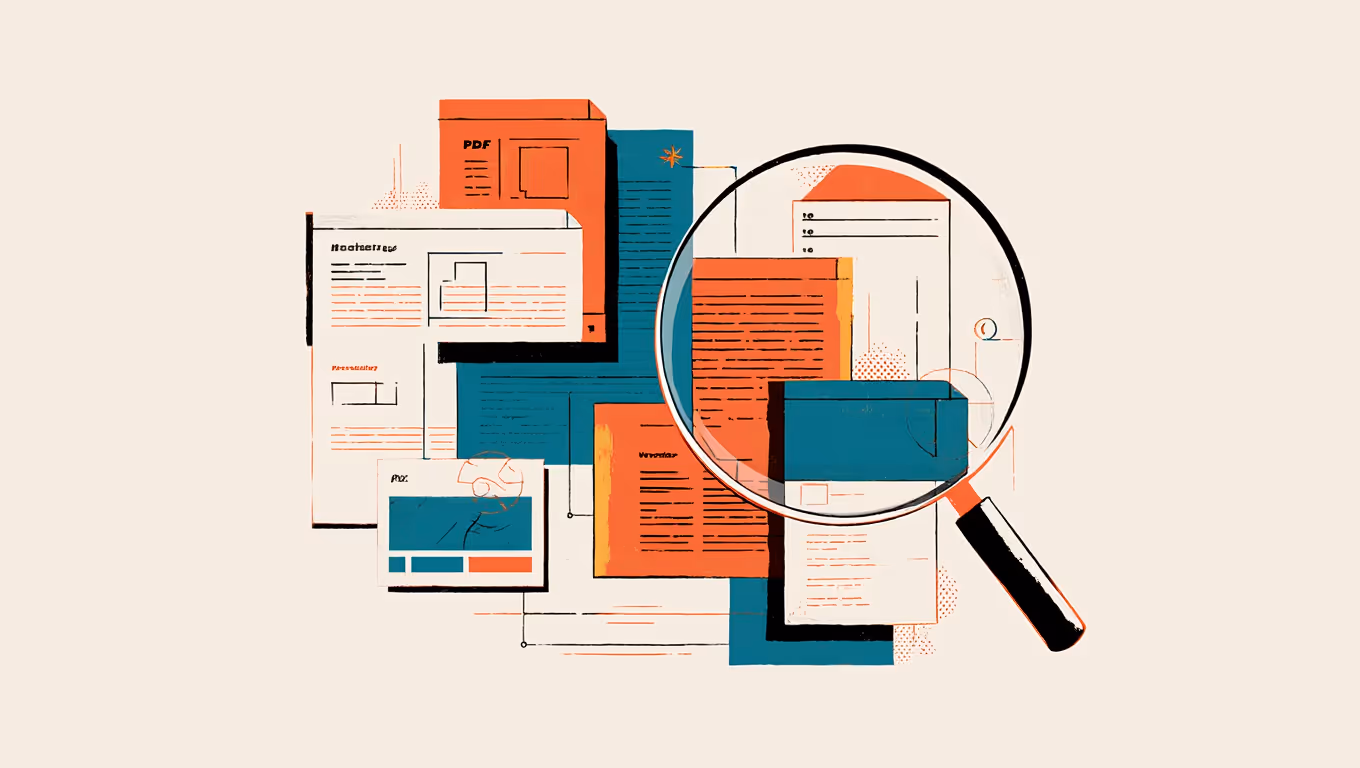
We’re reliable. Always
Our clients trust us because we consistently deliver beautiful, high-quality work. We understand the importance of dependable tools in your business, and we never compromise on quality or functionality.
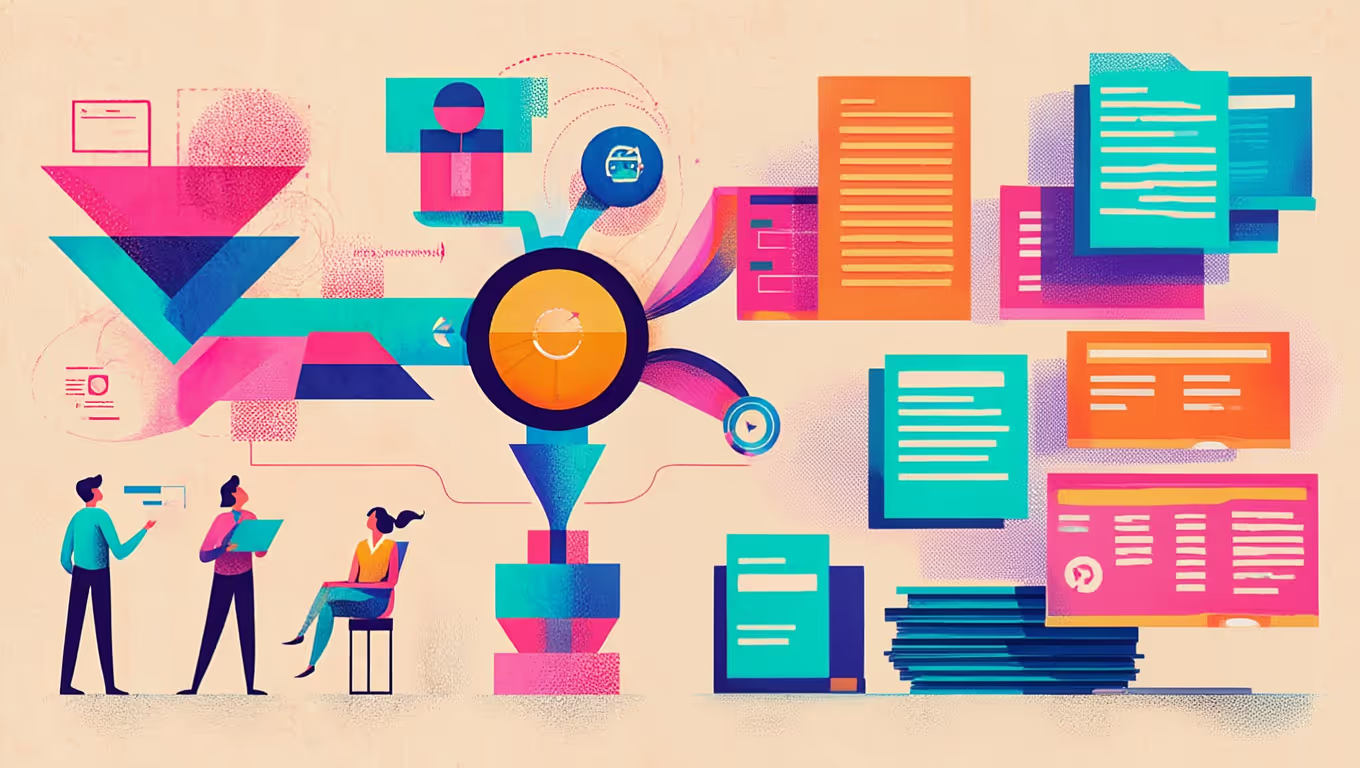
We go the extra mile
We don’t just meet expectations; we exceed them. We take the time to understand your needs and find creative, tailored solutions that make your work easier and more effective. Our commitment to going above and beyond means you get more than just a template — you get a partner who genuinely cares about your success.


.avif)


%20(1)%20(1)%20(1).png)


.avif)

.webp)


.gif)


.svg)
.svg)
.svg)
.svg)


